How To Apply Glue-On False Nails (Press-On / Stick-On)
*Note: Protect your work suface with a cover before starting your nail application.
1. Prepare your nails by removing any traces of old nail polish, gel or glues on the surface off your natural nail bed.
2. Gently push your cuticles back with a cuticle pusher and cut off any dead skin if required. This clears your nail bed to ensure your false nails fit flush and comfortably.
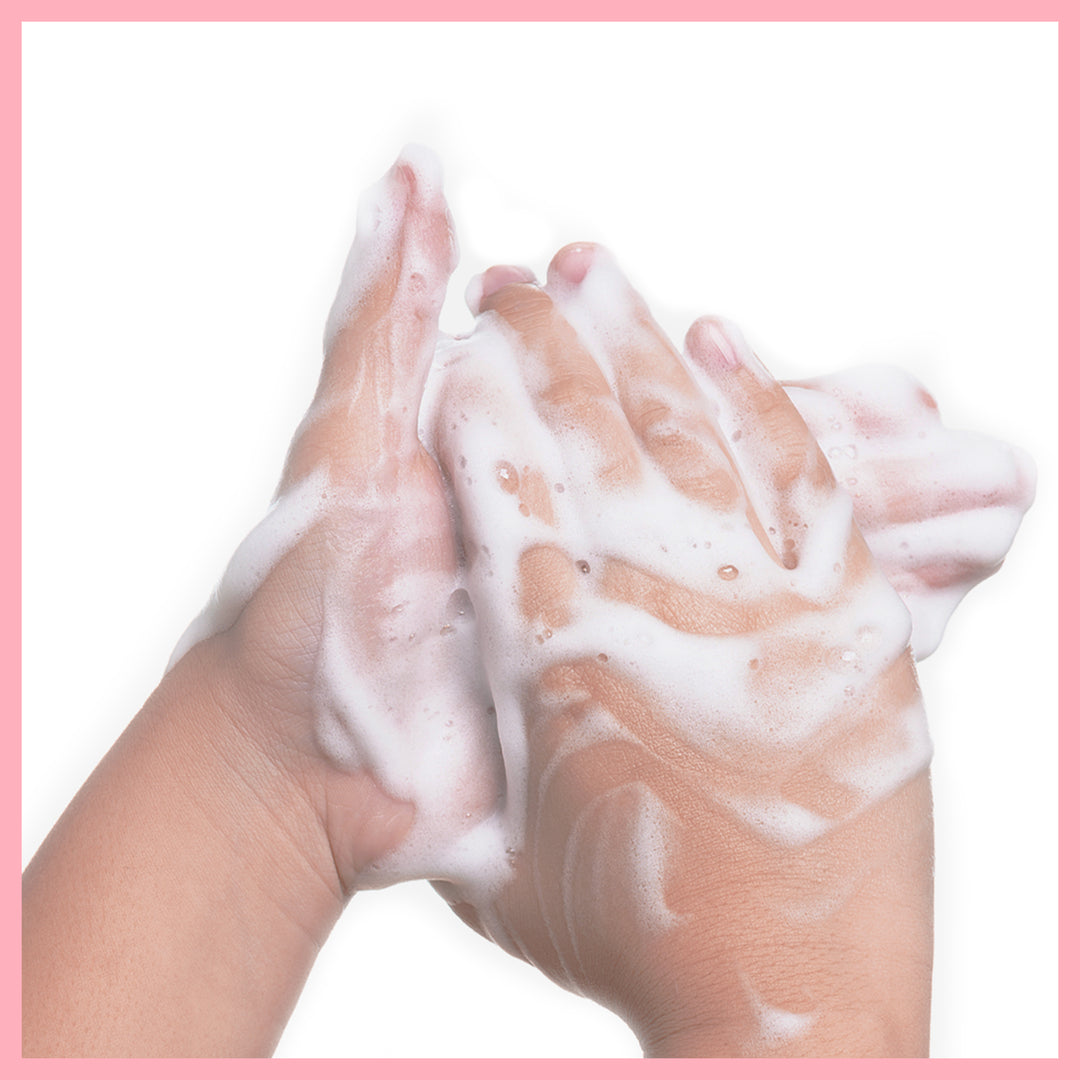
3. Wash & dry your hands/nails thoroughly.
Pro Tip:Just before applying your nails/tips lightly buff your natural nails with a nail file and then cleanse your nails with an alcohol or acetone based nail wipe or similar. This prepares your nail surface for the ultimate bond to your new false nails.
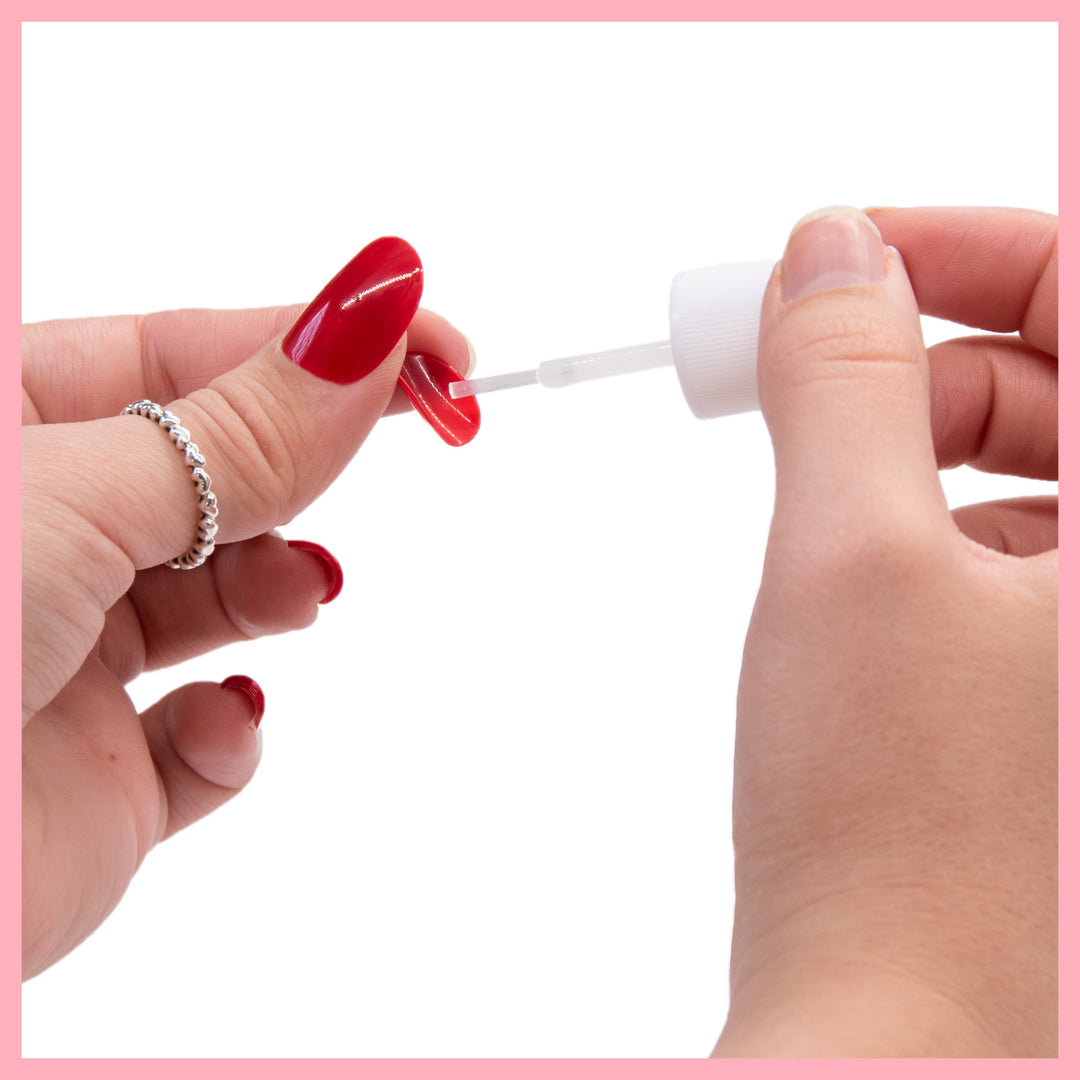
1. Brush a thin layer of glue evenly to your natural nail and false nail. Cover all of the nail required, including to the edges.
Pro Tip:Size up your flase nails/tips against your natural nails and arrange them in order so you can easily apply the correct nail as you go.
For the perfect fit, the false nail should not overlap onto you skin. When you think you have the correct one, try the next size up and down to ensure the perfect fit.
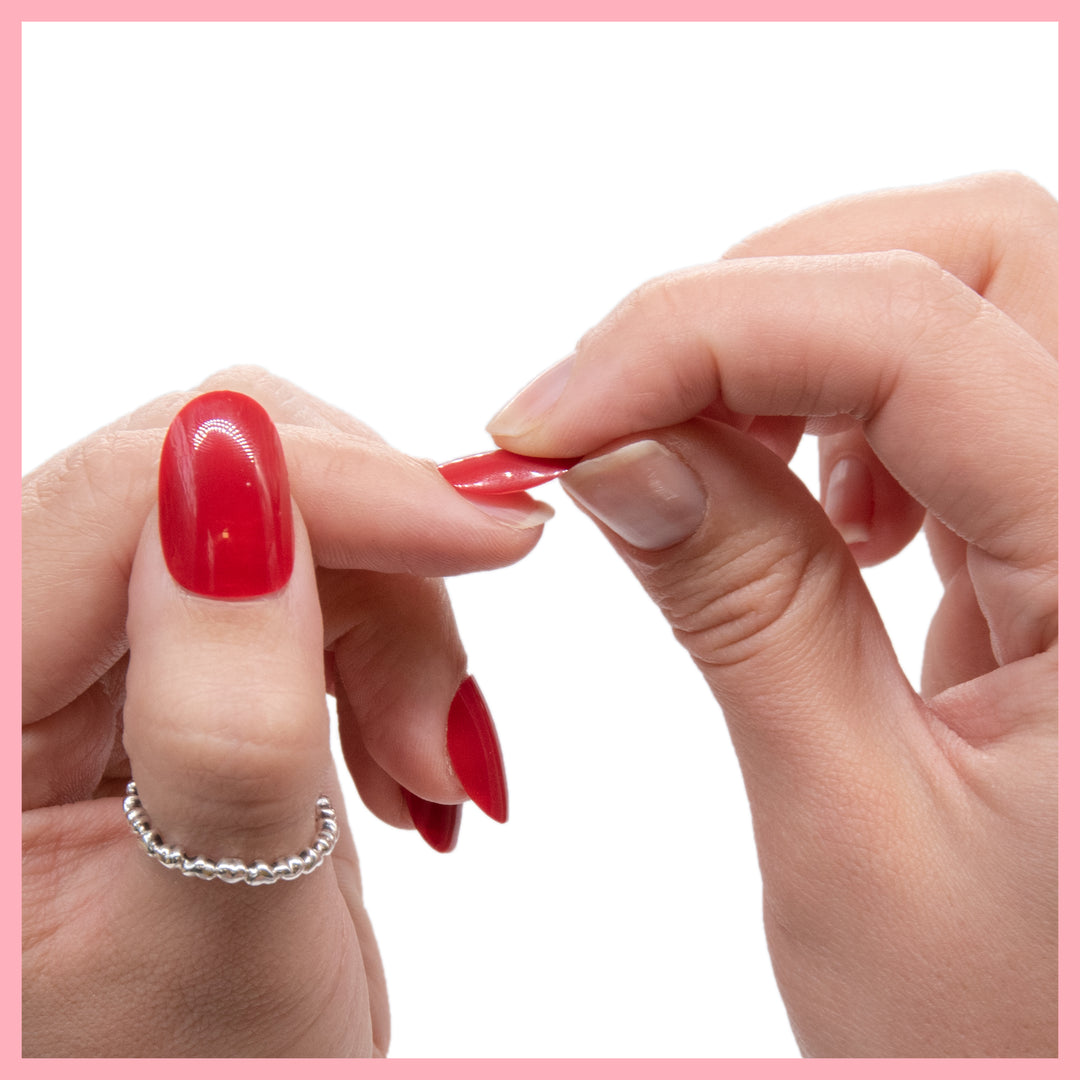
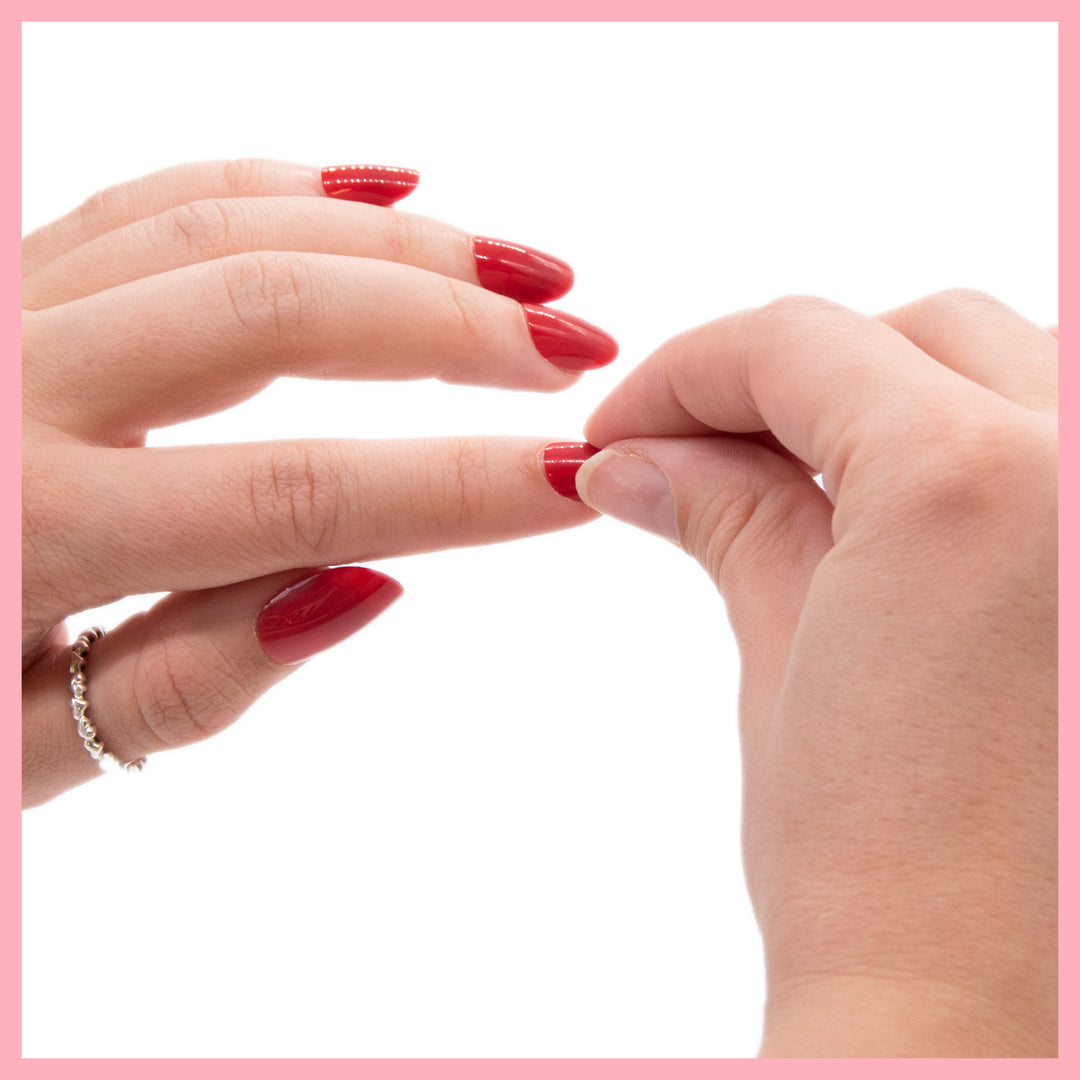
1. Starting at the cuticle, apply your new false nail at a 45°angle. This will help push out air bubbles to prevent your nail pinging off.
2. Lightly press the sides down for 5-10 seconds until firmly bonded.
Pro Tip:Apply to your dominant hand first. This typically ensures better control when applying to the other hand.
Have fun creating your nail envy and remember AIRRE Nail Glue is also ideal for Nail Art and Nail Repairs.
Pro Tip:Sharing Is Caring! Show us your Insta Nails! #AIRRENAILS